本文基于 Xcode 12.3 Swfit 5.3.2 iOS 14.3 macOS 11.2 构建
无意间发现好像不止可以在 Swift UI 中用上 UIKit,反过来亦然。
首先打开 Xcode 新建一个 Cocoa Touch 项目,interface 选择 Storyboard。
随后,新建一个 Swift UI File,命名为 ContentView.swift。文件会自动生成一个 ContentView 的 Swift UI View。
接下来需要把 Swift UI View 用在 UIKit 中,需要用到 Swift UI 中的 UIHostingController。这是可以把 Swift UI 包装成 UIView。
在 Main.stroyboard 中将 rootViewController 包装上一个 NavigtaionController,不用多说了。之后打开 ViewController.swift。在 viewDidLoad 中加上如下代码:
let uiButton = UIButton(type: .system)

uiButton.setTitle("Button", for: .normal)
uiButton.translatesAutoresizingMaskIntoConstraints = false
uiButton.addTarget(self, action: #selector(click), for: .touchUpInside)

view.addSubview(uiButton)

uiButton.snp.makeConstraints { make in
    make.center.equalTo(view)
}
方便起见,以上代码使用了 SnapKit,在运行之前请先下载安装 SnapKit
在再底下加个方法
@objc func click() {
    let vc = UIHostingController(rootView: ContentView())

    navigationController?.pushViewController(vc, animated: true)
}
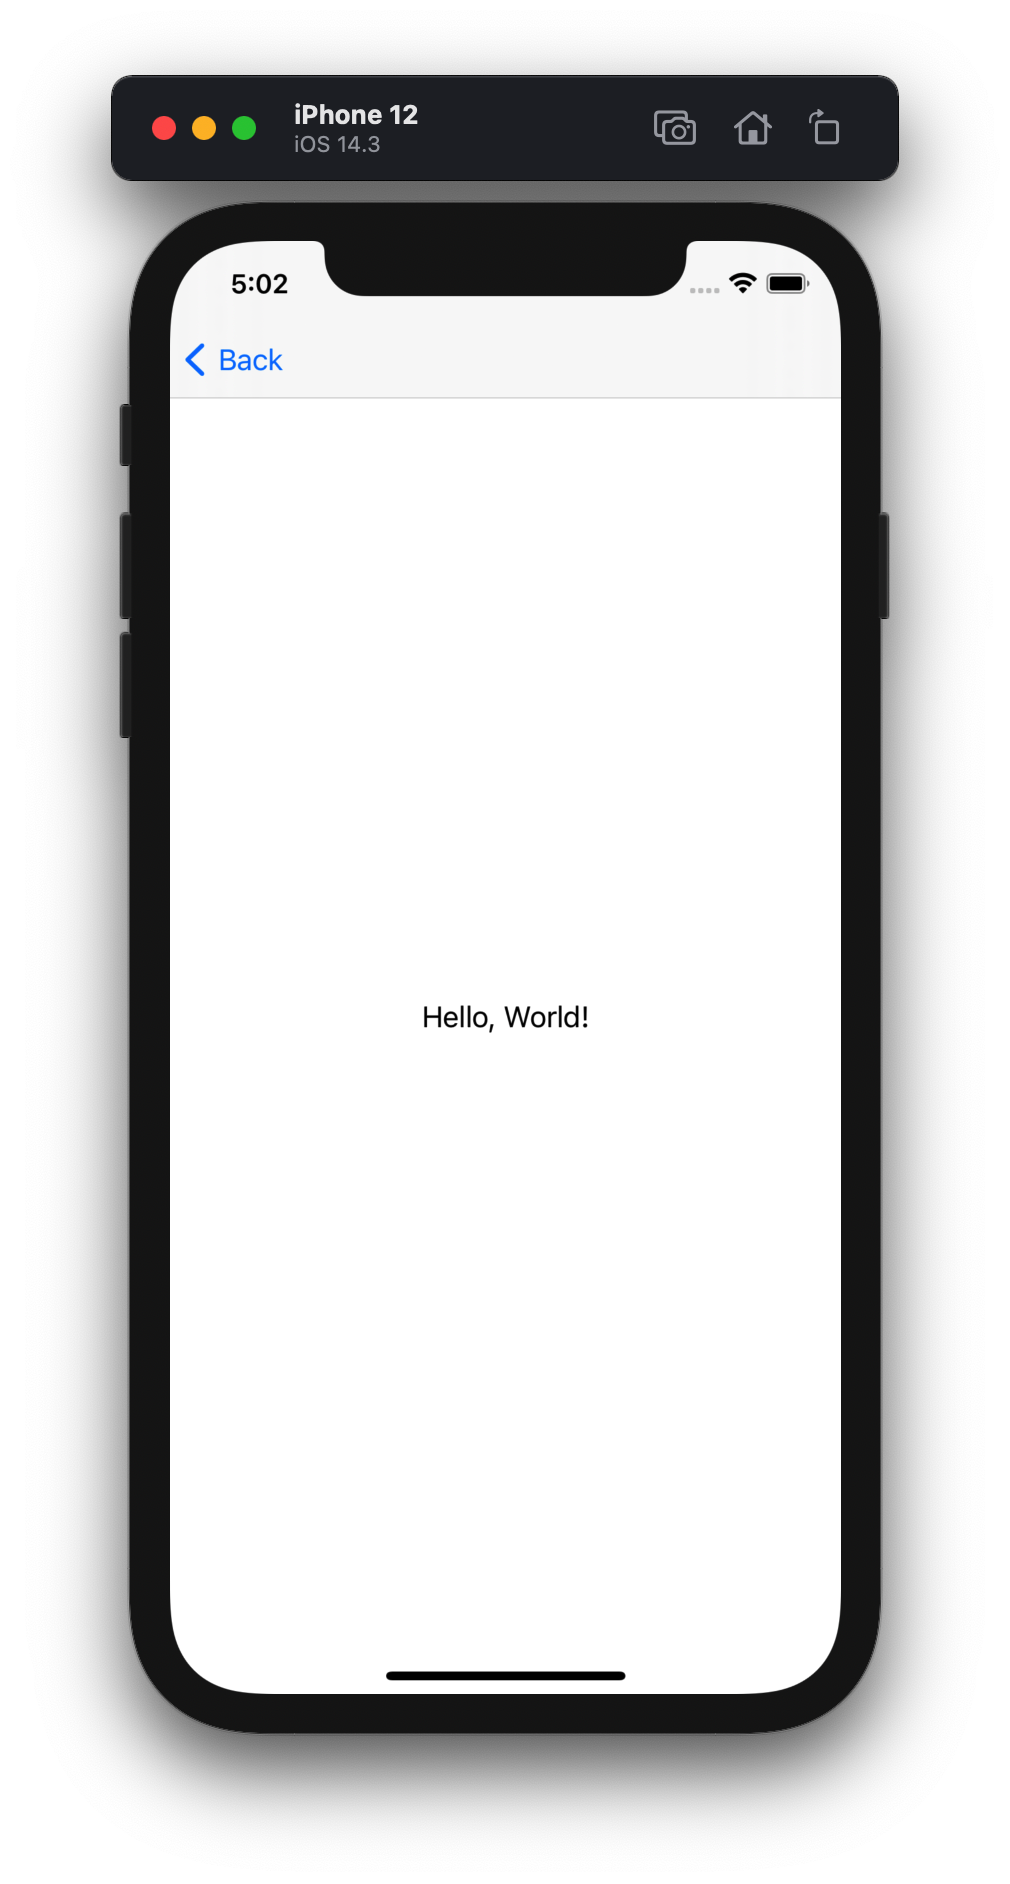
OK, 现在可以 Run 了。点击中央的 Button 之后将会 Push 到一个由 Swift UI 构建的 View。

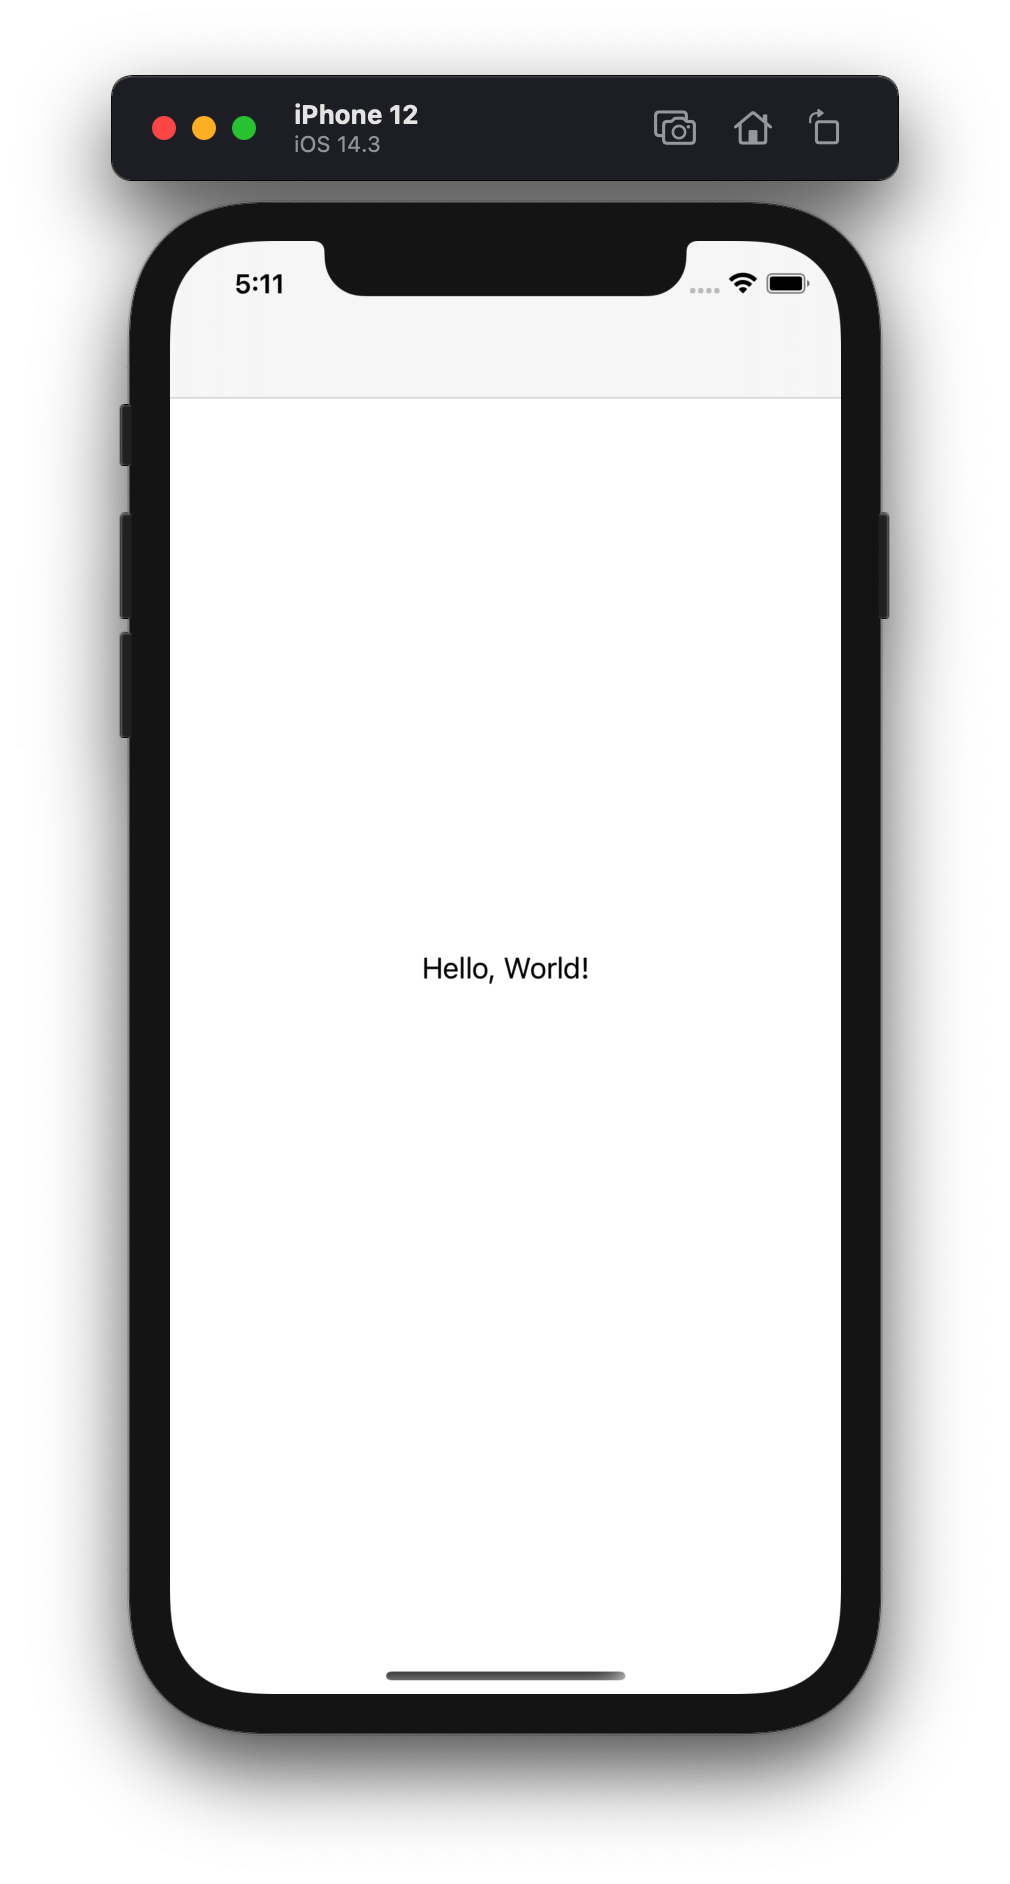
接下来,如果不用 PushViewController 的方式把 Swift UI View 直接挂载到 RootViewController。
将 ViewController 中 viewDidLoad 中代码替换成

1612689096600
然后我又发现了点好玩的东西。如何在 Swift UI 直接用上 UINavigationController 和 UITabBarController。
刺激。
NavigationController 外置的另一方式
如下写法能让 SwiftUI 内部识别到外层 UINavigationController,无需包裹 NavigationView 即可使用 NavigationLink,同时还能使用 UINavigationController 更完善的方法。