别着急,坐和放宽
目前,较为流行的 React Native 框架是 Expo,Expo 提供了 Expo Modules API 可供我们快速的开发一个 Native 组件或者模块。
这篇文章将简单介绍如何在 Expo ~52 中在当前项目中初始化并编写一个简单的 Native 组件。
准备
开始之前,确保你已经建立了一个 Expo 的项目。
然后,通过以下命令创建一个 Expo Module。
npx create-expo-module@latest --local
根据引导创建了一个 Module。位于 modules/<name> 下,并存在以下的文件。
.
├── android
│   ├── build.gradle
│   └── src
│       └── main
│           ├── AndroidManifest.xml
│           └── java
│               └── expo
│                   └── modules
│                       └── testmodule
│                           ├── TestModule.kt
│                           └── TestModuleView.kt
├── expo-module.config.json
├── index.ts
├── ios
│   ├── TestModule.podspec
│   ├── TestModule.swift
│   └── TestModuleView.swift
└── src
    ├── TestModule.ts
    ├── TestModule.types.ts
    ├── TestModule.web.ts
    ├── TestModuleView.tsx
    └── TestModuleView.web.tsx

10 directories, 14 files
其中,android 和 ios 目录是编写 native 代码的入口。
集成到现有项目中
现在我们需要把这种模块应用到当前的 app 中。
编辑 package.json 增加这个字段:
CodeBlock Loading...
然后,执行 npm run expo prebuild --clean 刷新 ios 和 android 的项目。
等待安装完 native 依赖之后,我们使用 Xcode 打开 xcworkspace 文件。
编写一个简易模块
在初始模板中已经存在了一个官方实例模块。我们也可以尝试自己写一个简单的组件。下面以 iOS 平台并使用 Swift UI 编写。
根据图示找到我们的模块位置。
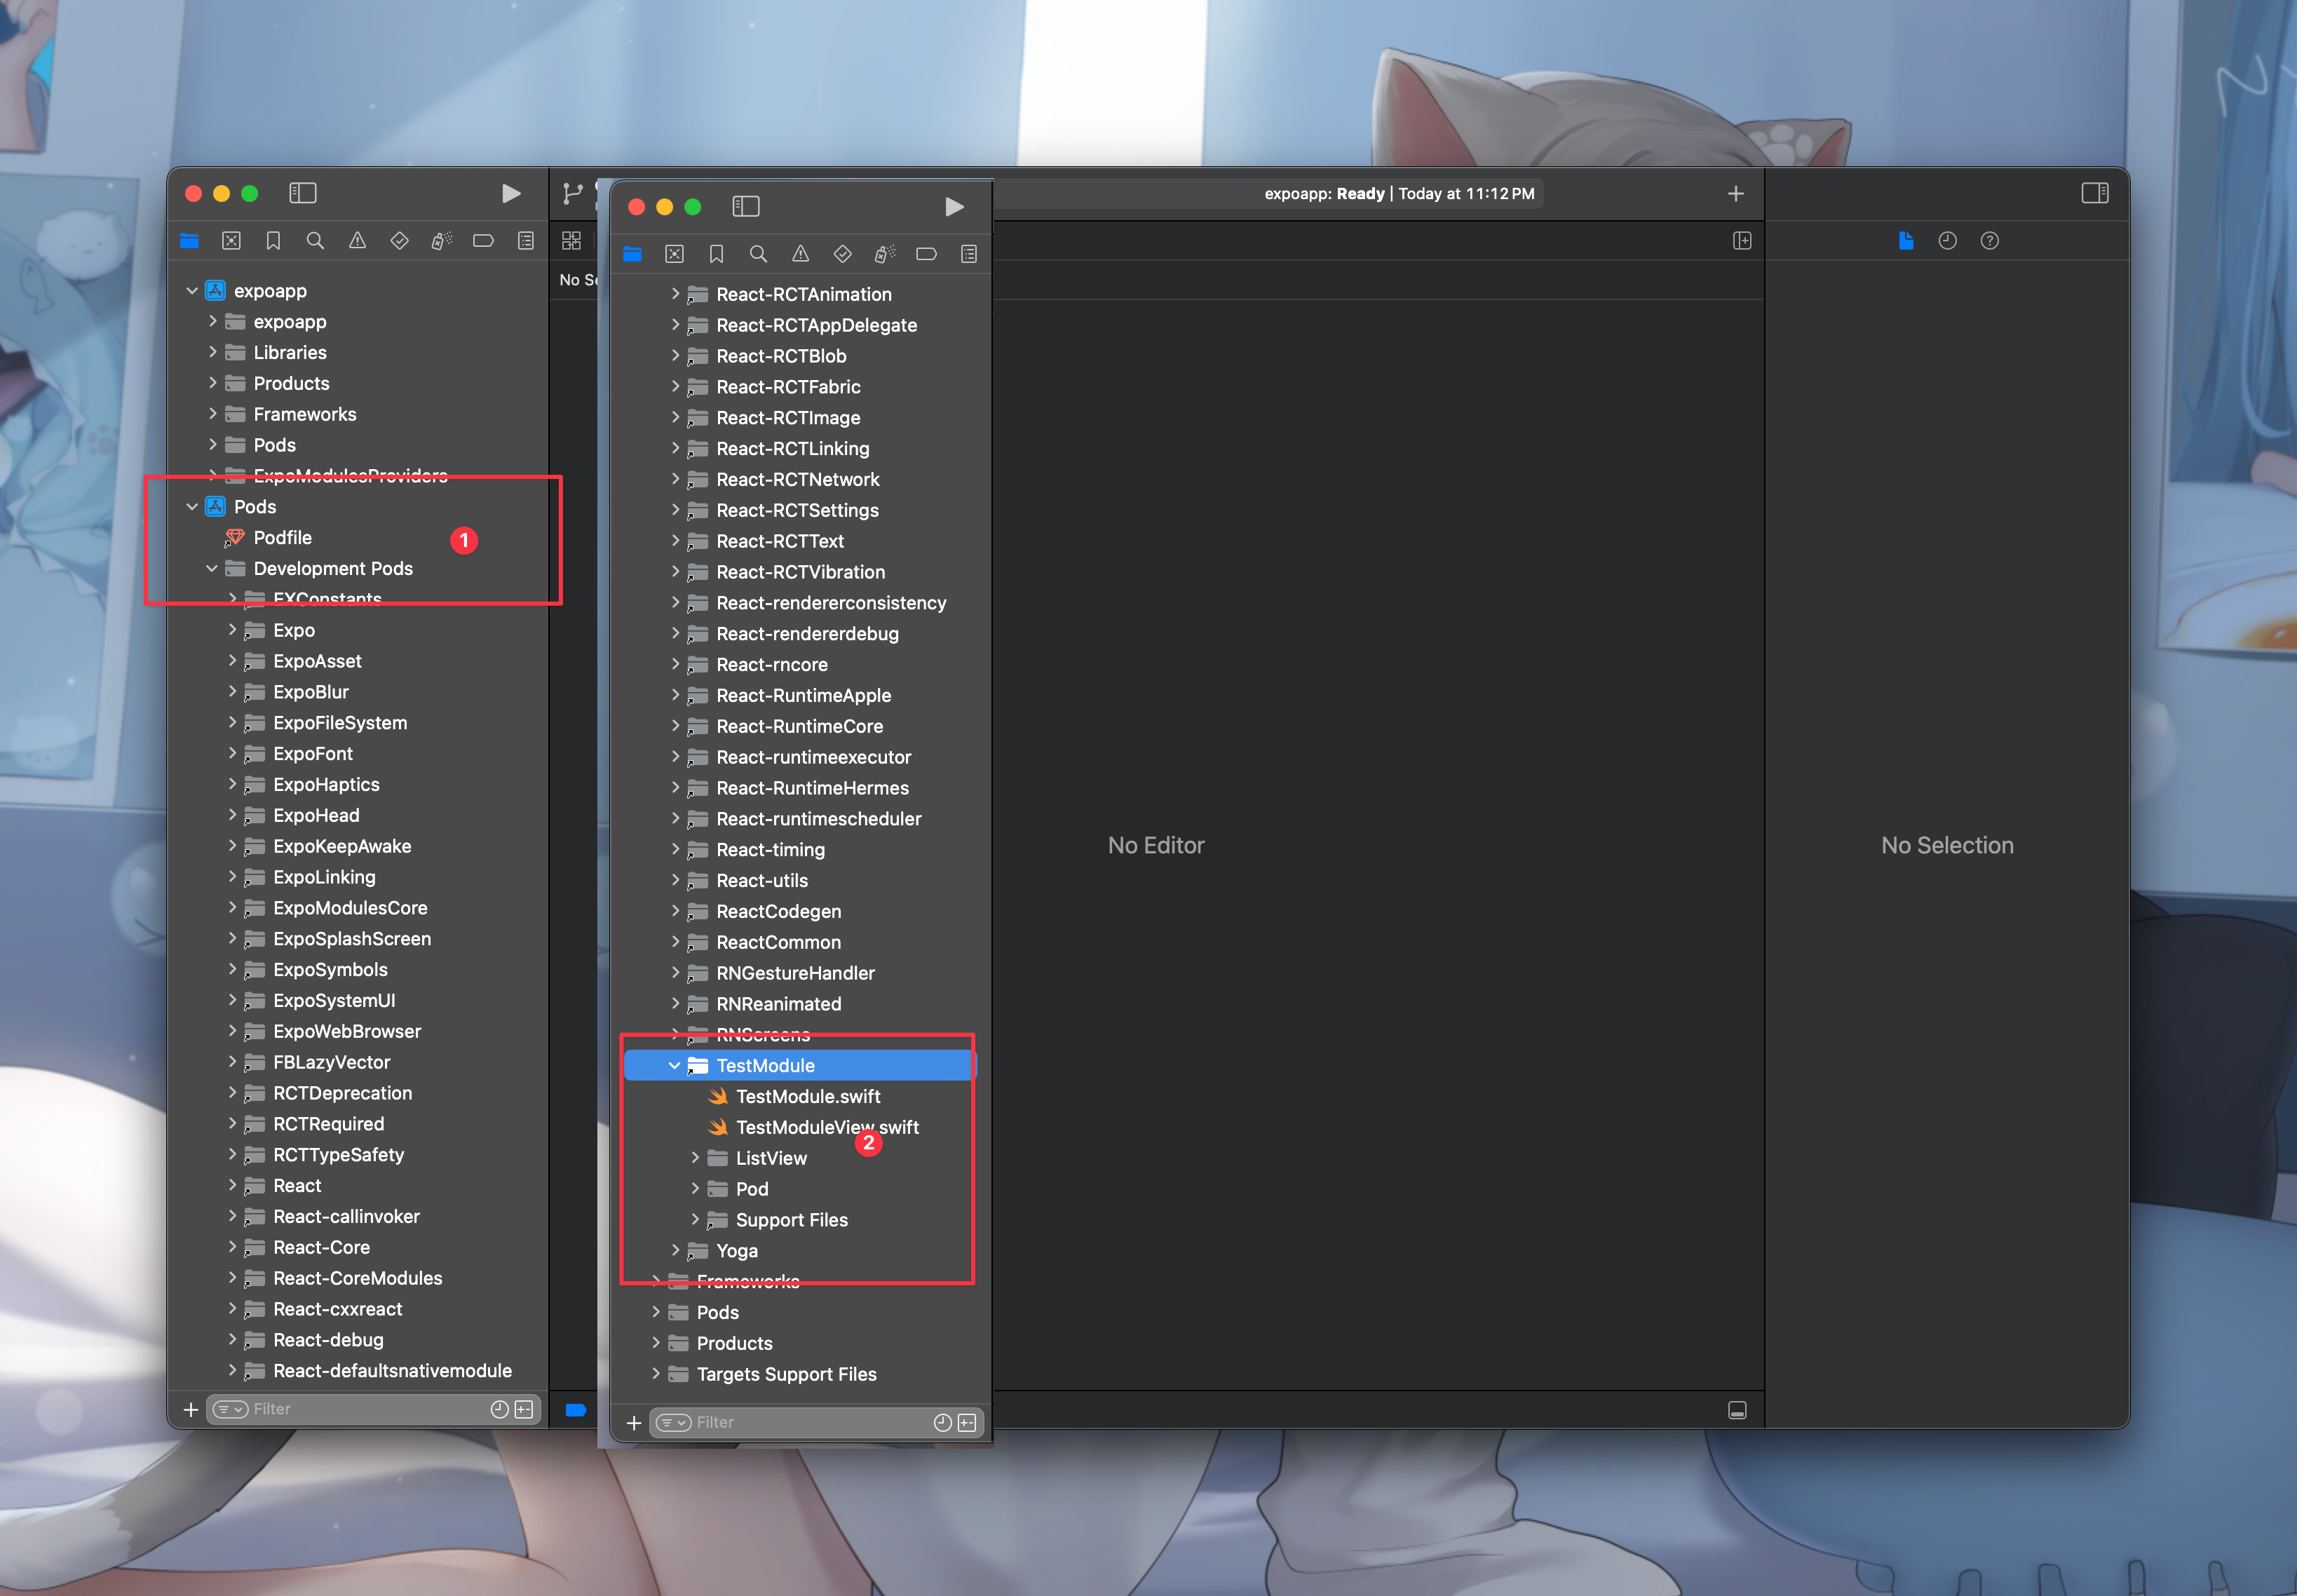
新建一个内部模块,用以下的方式组织文件:
../ListView
├── ListView.swift
└── ListViewModule.swift
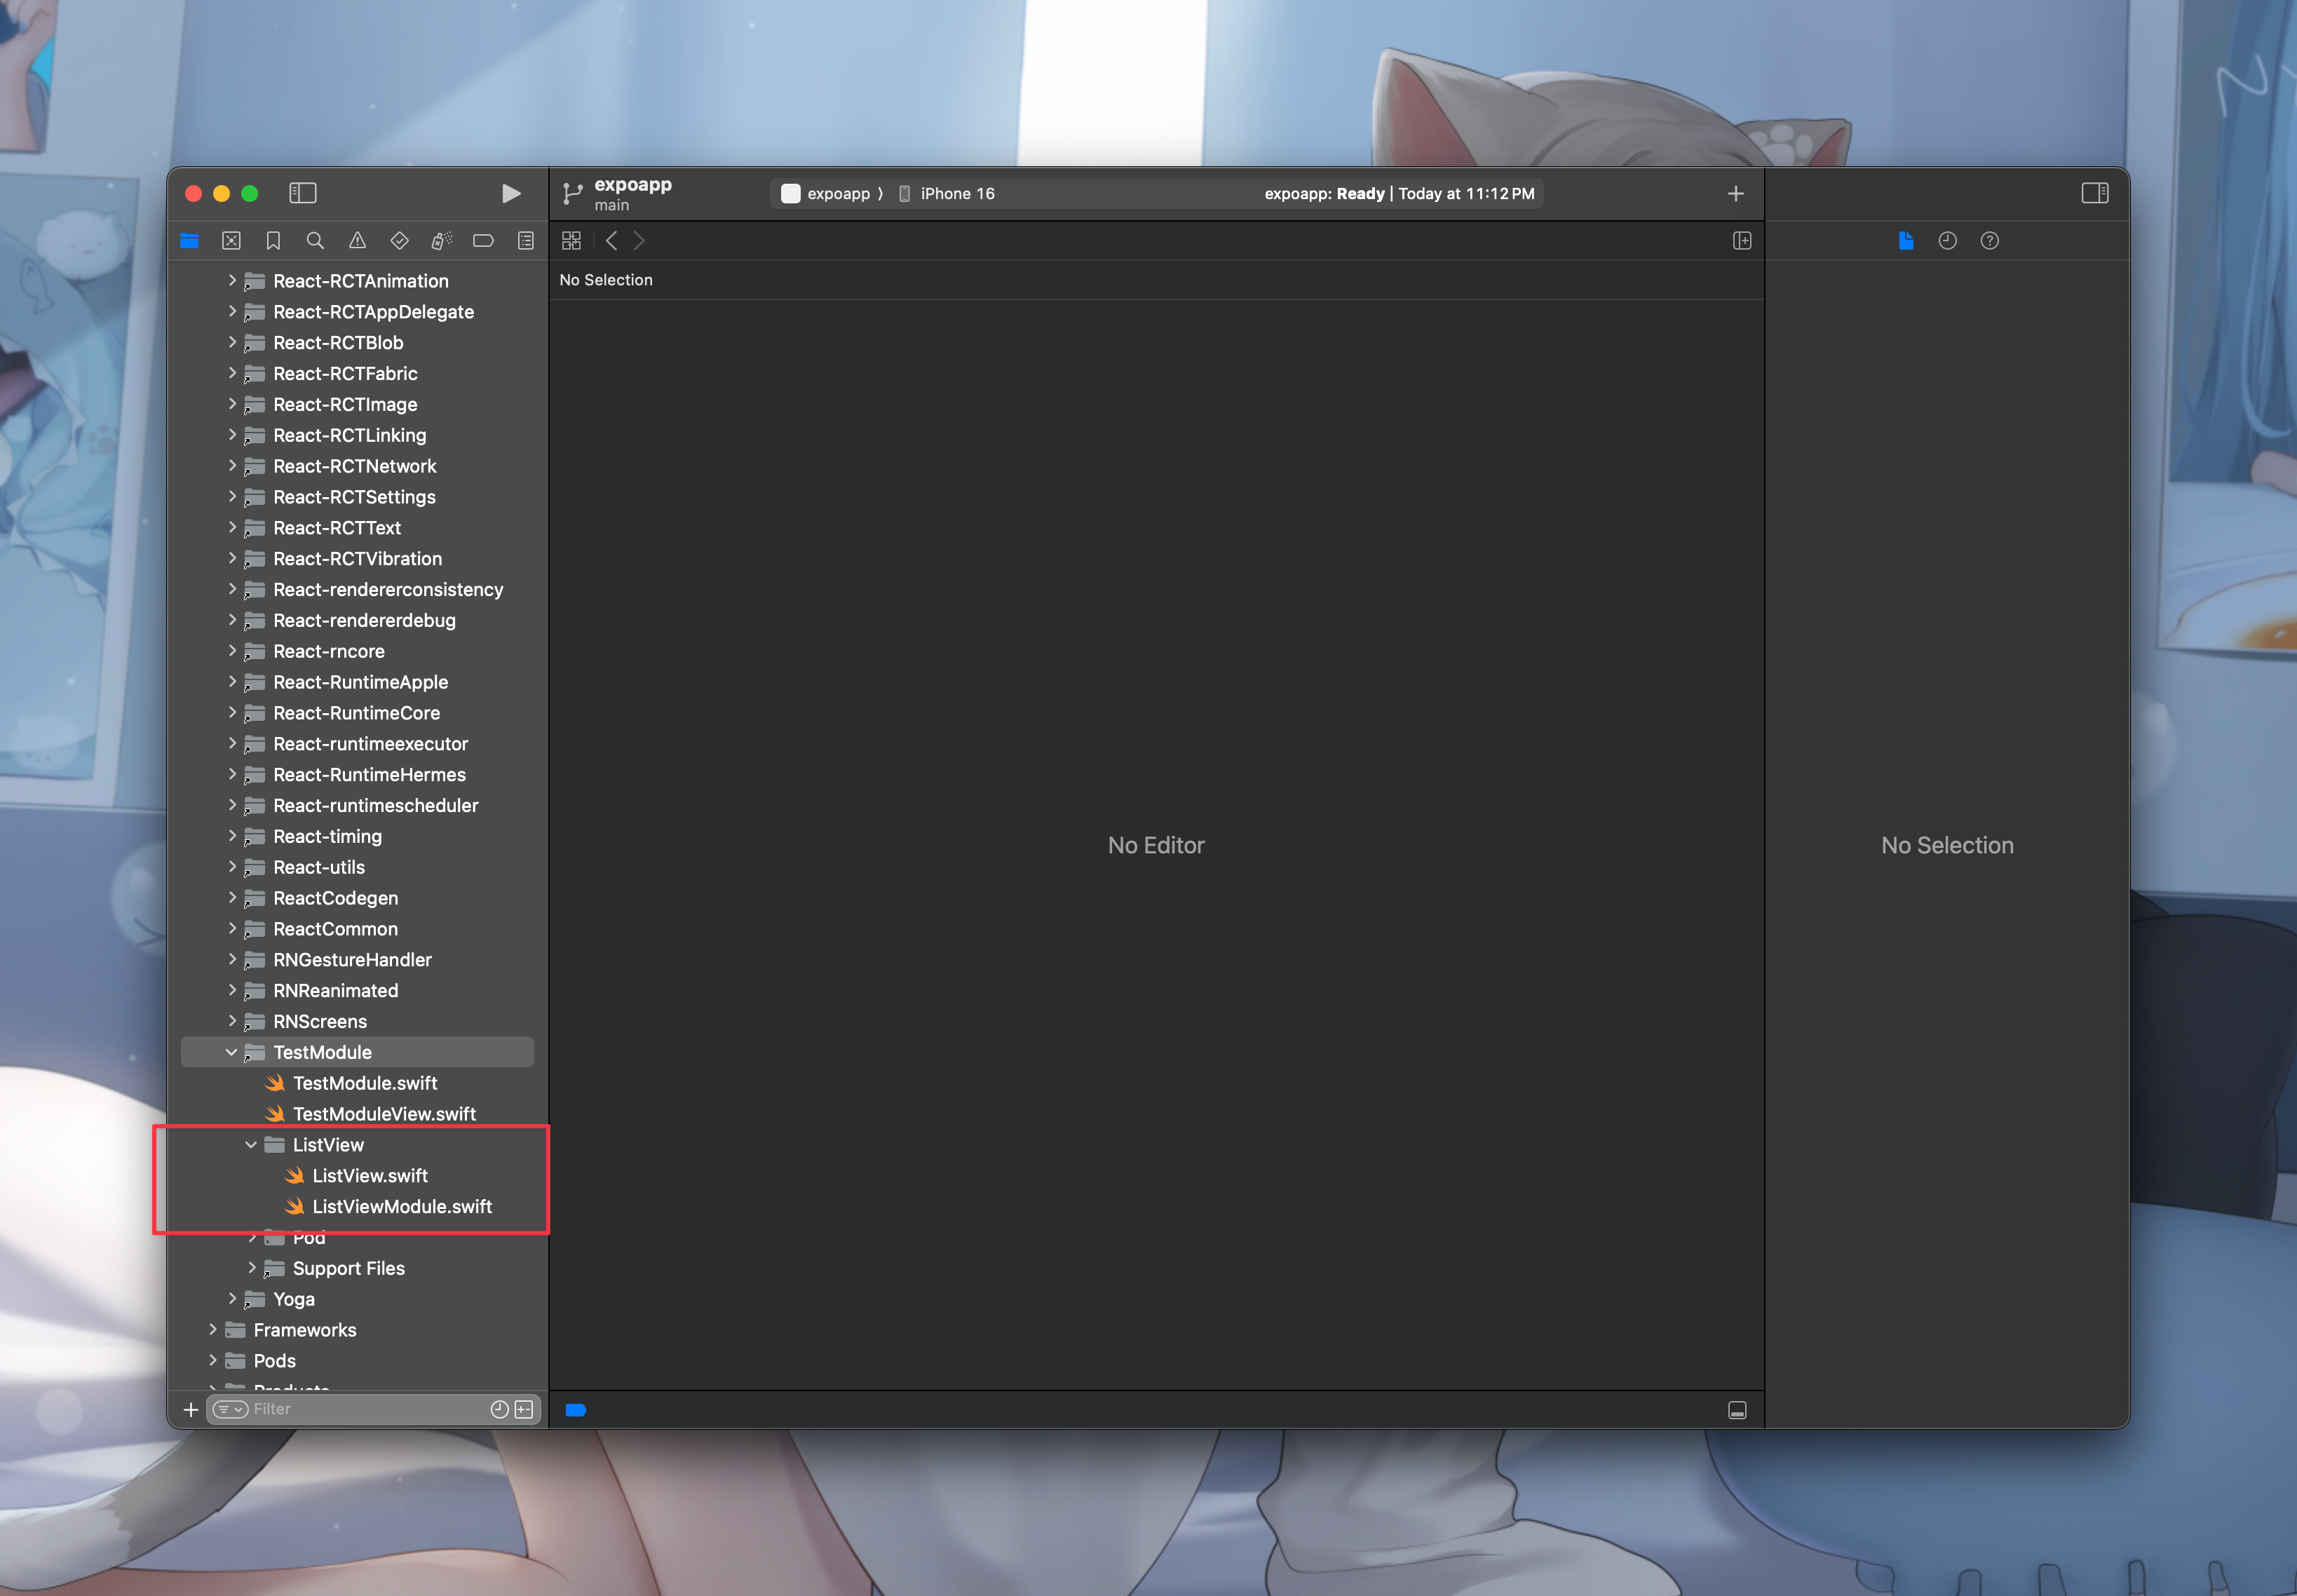
在 ListView.swift 中编写以下代码,一个简单 SwiftUI List:
CodeBlock Loading...
然后定义 Expo Module,编辑 ListViewModule.swift
CodeBlock Loading...
到这里,native 侧已经完成了。接下来修改 expo-module.config.json
增加刚刚新增的 ListViewModule。
CodeBlock Loading...
由于我们没有实现 android,这里就不写了。然后执行 npm expo prebuild。
在 React Native 中使用 Native 组件
经过了上面的步骤,下面在 React Native 中这样使用它。
CodeBlock Loading...
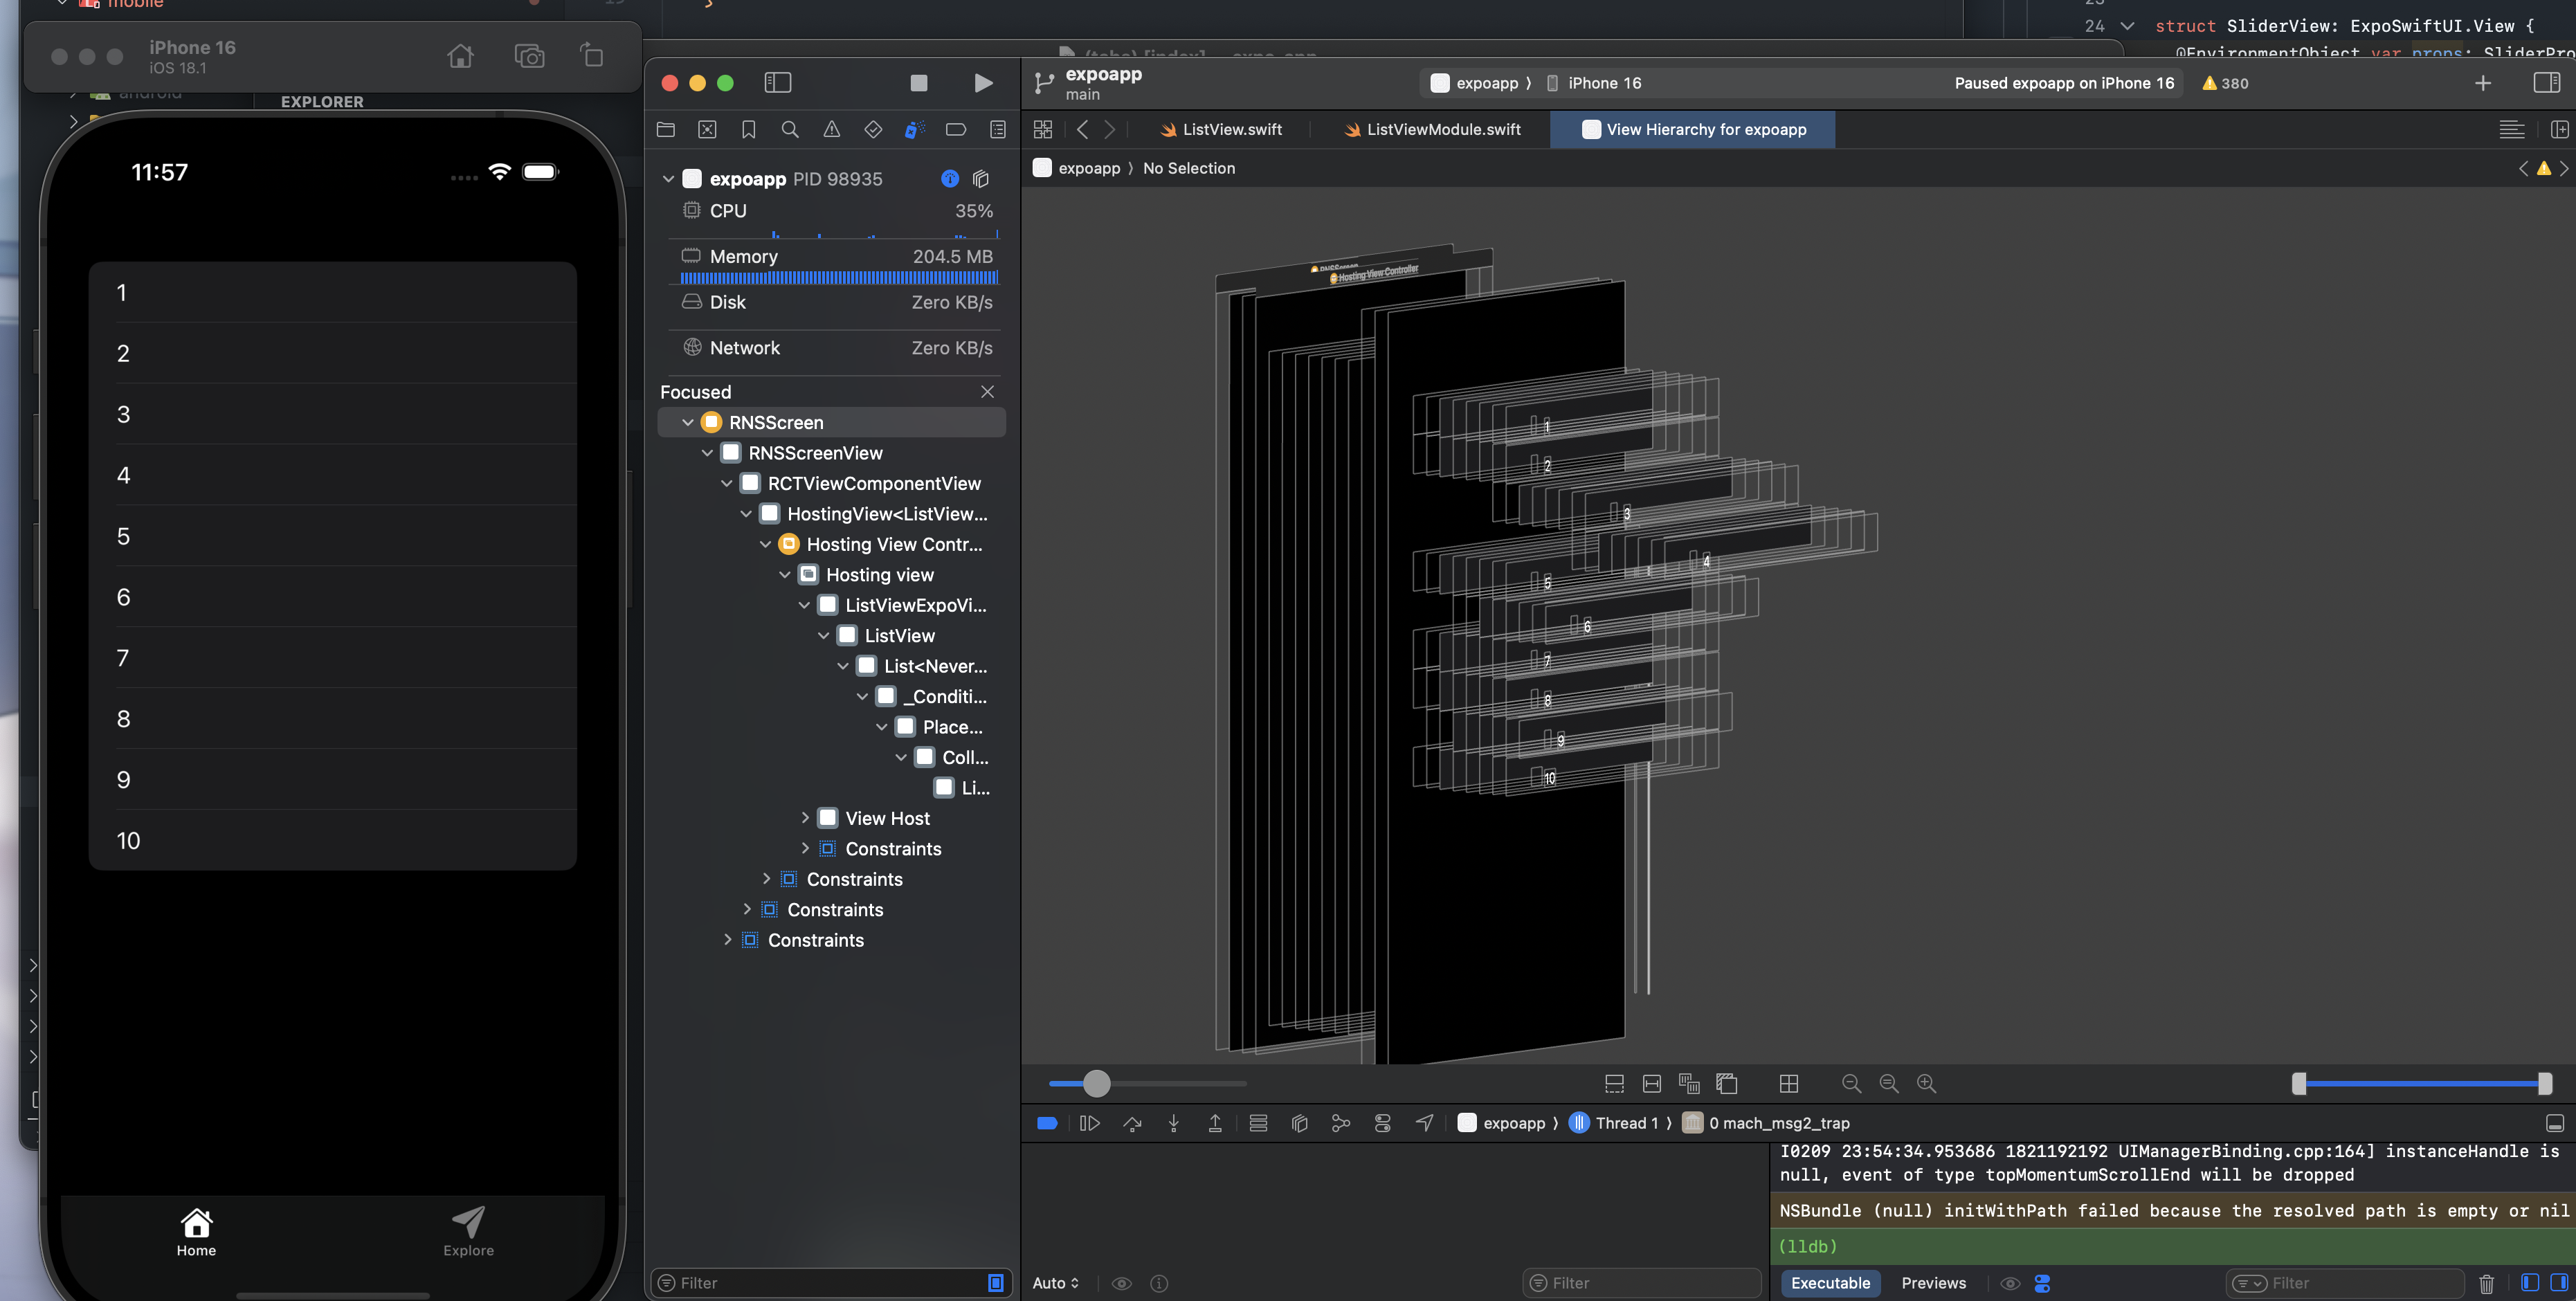
然后在 Xcode 中启动项目,同时启动 metro dev server。
通过 Xcode View Hierarchy 看到,NativeView 已经正常渲染。