从零开始的 Swift UI (一)
注: 本文编写时,使用 Xcode 12.3、Swift 5.3.2 来构建 App
入门 Swift UI 已经有一段时间了,但是却一直没有写过什么练手项目,虽然之前跟着 Hackingwithswift 上找着写过几个 Demo。突然打算自己独立写一个练手项目,因为是练手项目,所以布局和功能上也很简单,App 的类型大概和 TODO 类似。
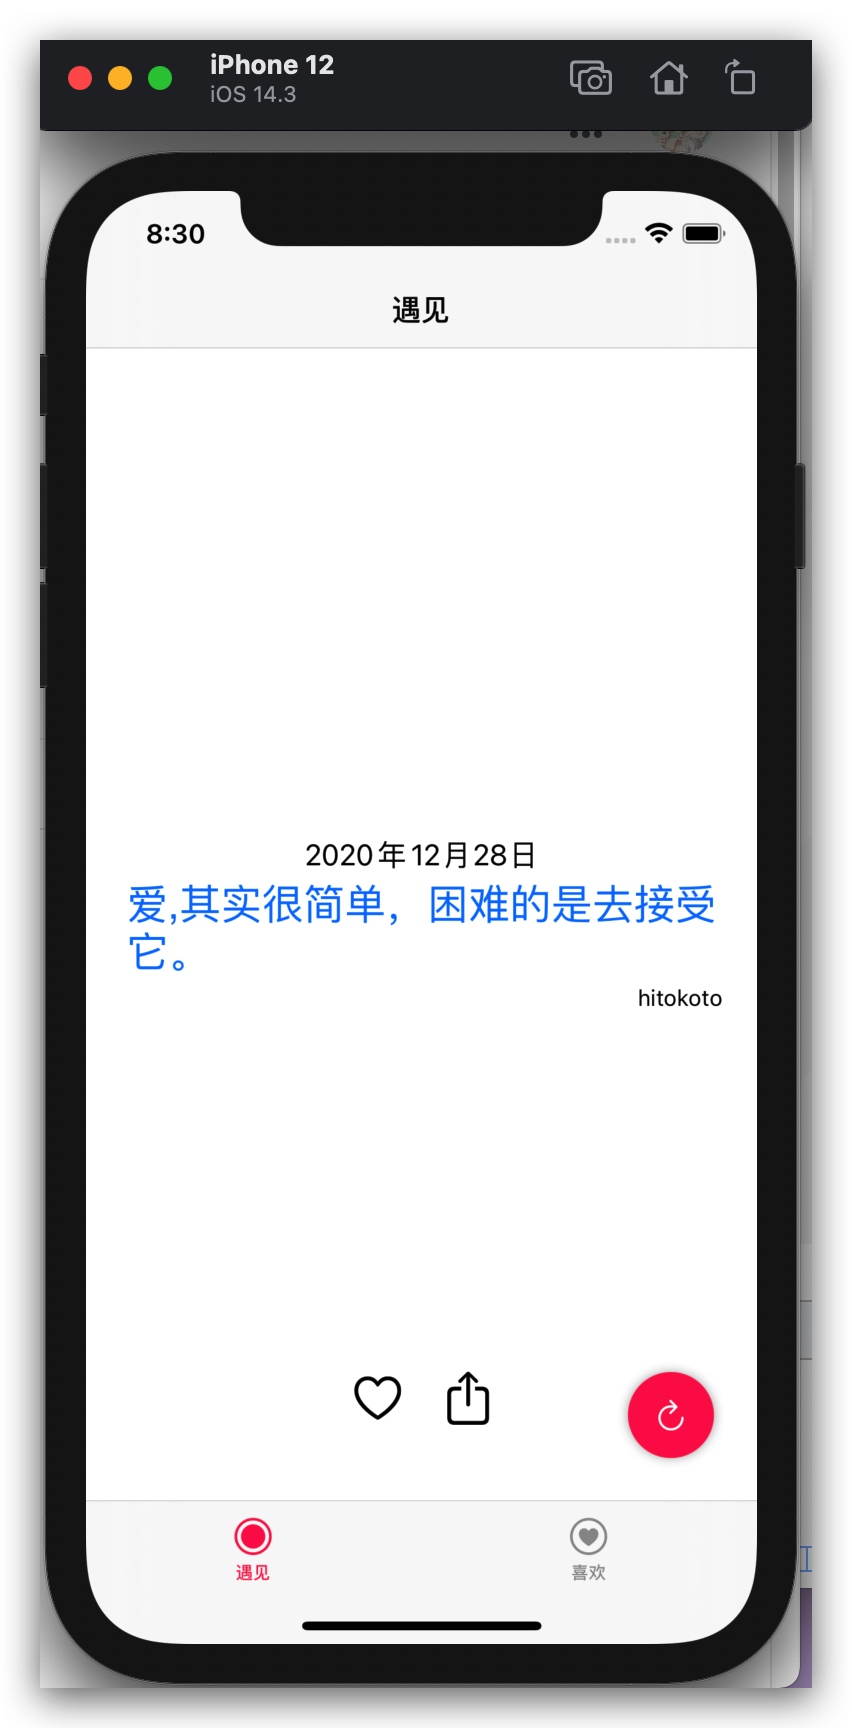
准备
打开 Xcode 新建一个项目在此不再展开。在左侧文件树中打开 ContentView.swift
,这是 View 的入口文件。你可以看到如下代码。
import SwiftUI
struct ContentView: View {
var body: some View {
Text("Hello, world!")
.padding()
}
}
struct ContentView_Previews: PreviewProvider {
static var previews: some View {
ContentView()
}
}
在 Swift UI 2.0 中,UI 主入口文件从复杂的 AppDelegate.swift
和 SceneDelegate.swift
转变为仅仅只有几行的 xxApp.swift
,得益于 Swift 5.3 加入的 @main
关键字
import SwiftUI
@main
struct MeetApp: App {
var body: some Scene {
WindowGroup {
ContentView()
}
}
}
布局
HomeView
首先新建一个 View,Command + N
选择 SwiftUI View,命名为 HomeView.swift
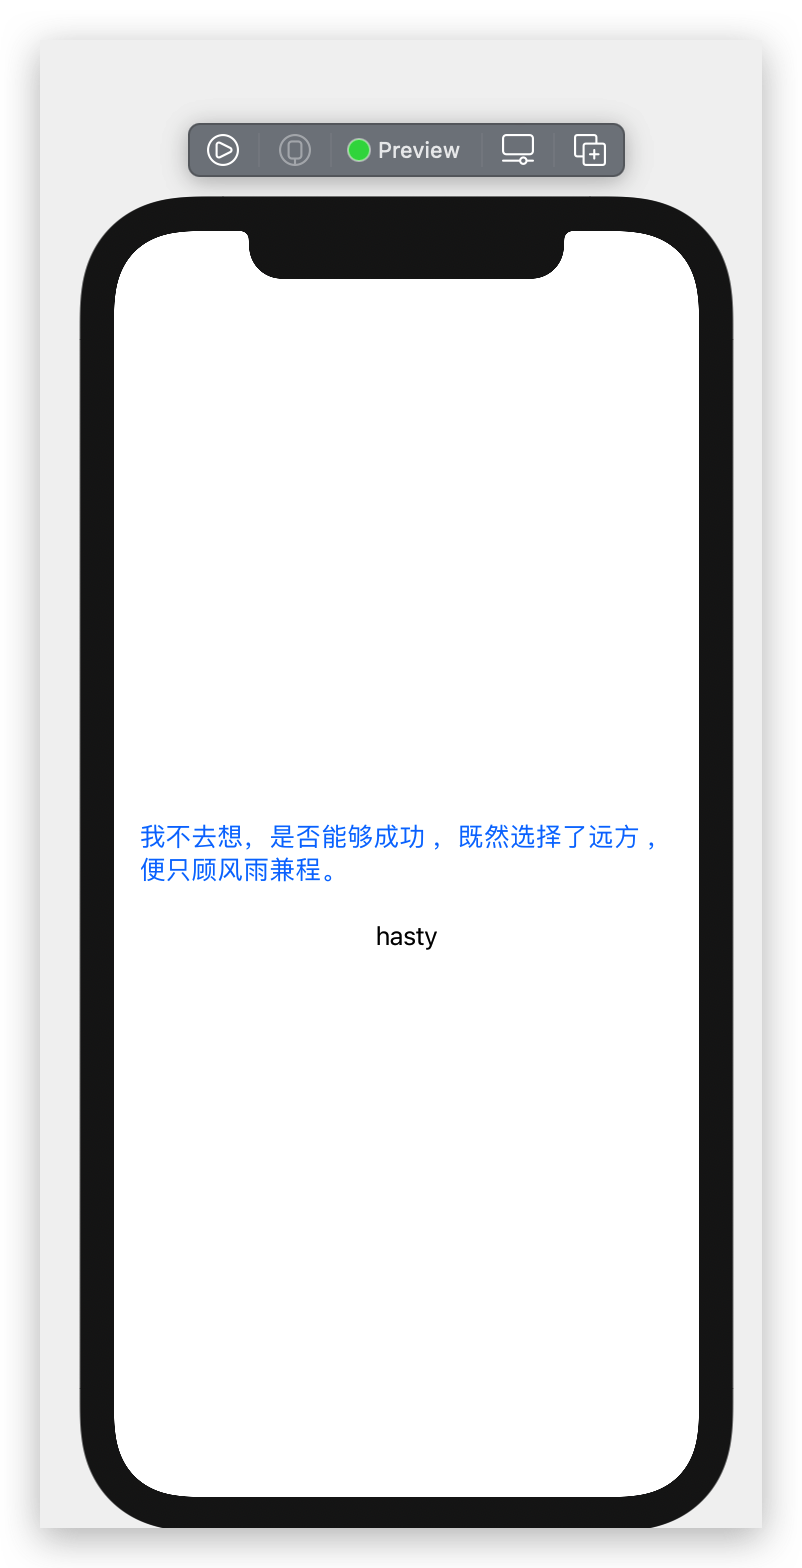
。将 HomeView 修改为如下代码。
struct HomeView: View {
var body: some View {
VStack {
Text("我不去想,是否能够成功 ,既然选择了远方 ,便只顾风雨兼程。")
.foregroundColor(.blue)
.padding(.vertical)
Text("hasty")
}.padding()
}
}
接下来,绘制圆形 Button。在 Swift UI 中绘制图形十分简单,Swift UI 中内置了 Circle
组件,只要使用 ZStack 和 Circle 结合,很容易编写这个组件。
struct CircleButtonShape: View {
var systemImage: String
var color: Color = .pink
var body: some View {
ZStack {
Circle()
.fill(color)
.frame(width: 50, height: 50, alignment: .center)
.shadow(radius: 3)
Image(systemName: systemImage).foregroundColor(.white)
}
}
}
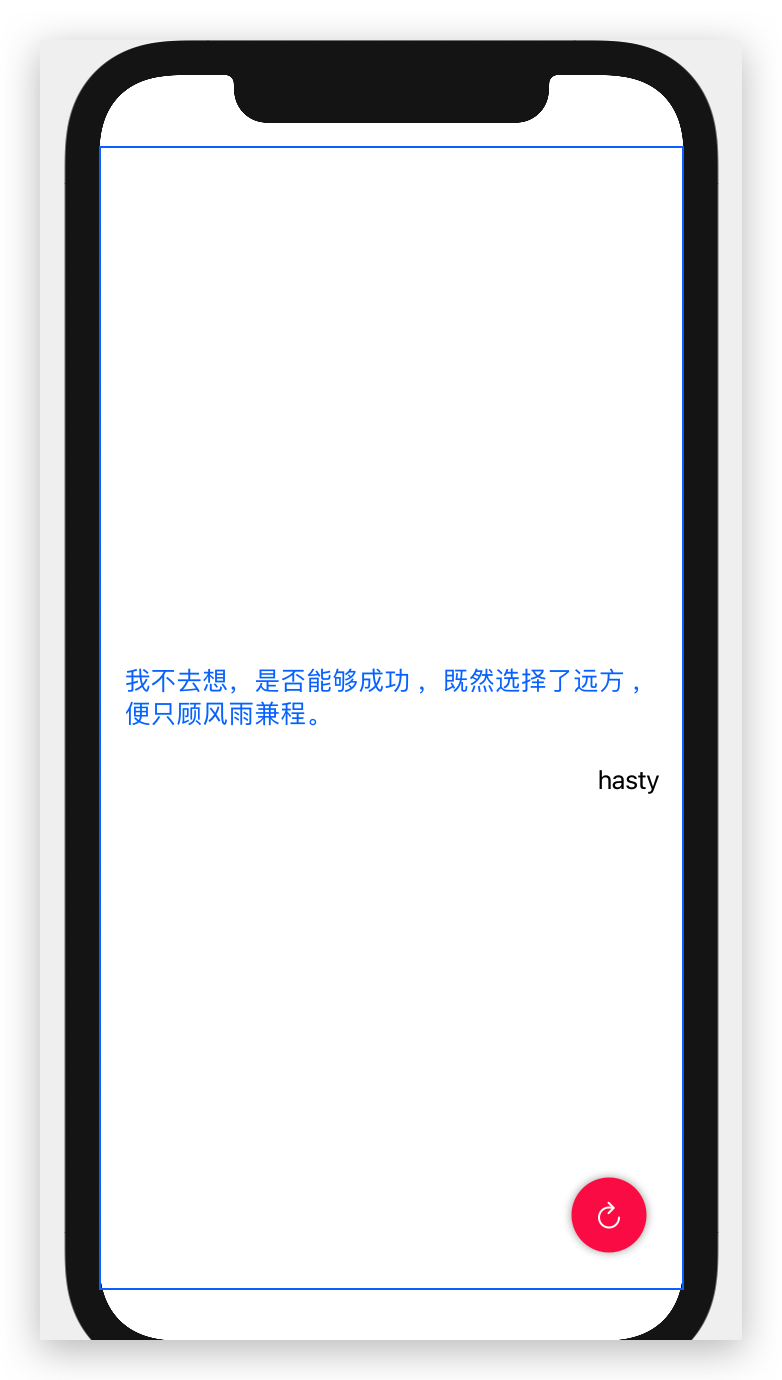
这个组件绘制了整个图形,其中 Image 接收一个 SFSymbol 字符串。SF Symbols 可以在这里下载。绘制完了图形接下来需要在 View 中使用这个图形,并定位到对应的地点。
在 Swift UI 中,可以使用 ZStack 结合 .postion
定位到指定地点。为了获取到整个视窗的长宽,还需要 GeometryReader
去读取子 View 的长宽。在根 View 包裹可以获取到设备的长宽。
GeometryReader { reader in
ZStack {
VStack {
Text("我不去想,是否能够成功 ,既然选择了远方 ,便只顾风雨兼程。")
.foregroundColor(.blue)
.padding(.vertical)
HStack {
Spacer()
Text("hasty")
}
}.padding()
Button(action: {
// TODO:
}, label: {
CircleButtonShape(systemImage: "arrow.clockwise")
})
.position(x: reader.size.width - 50, y: reader.size.height - 50)
}
}
接下来绘制底部的 ActionView。包含两个 Icon。
struct ActionView: View {
@State var liked = false
var body: some View {
HStack(spacing: 20) {
Button(action: {
}, label: {
Image(systemName: liked ? "suit.heart.fill" : "suit.heart")
.foregroundColor(liked ? .red : .primary)
.font(.custom("icon", size: 28))
})
Button(action: {
}, label: {
Image(systemName: "square.and.arrow.up")
.font(.custom("icon", size: 28))
.foregroundColor(.primary)
})
}
}
}
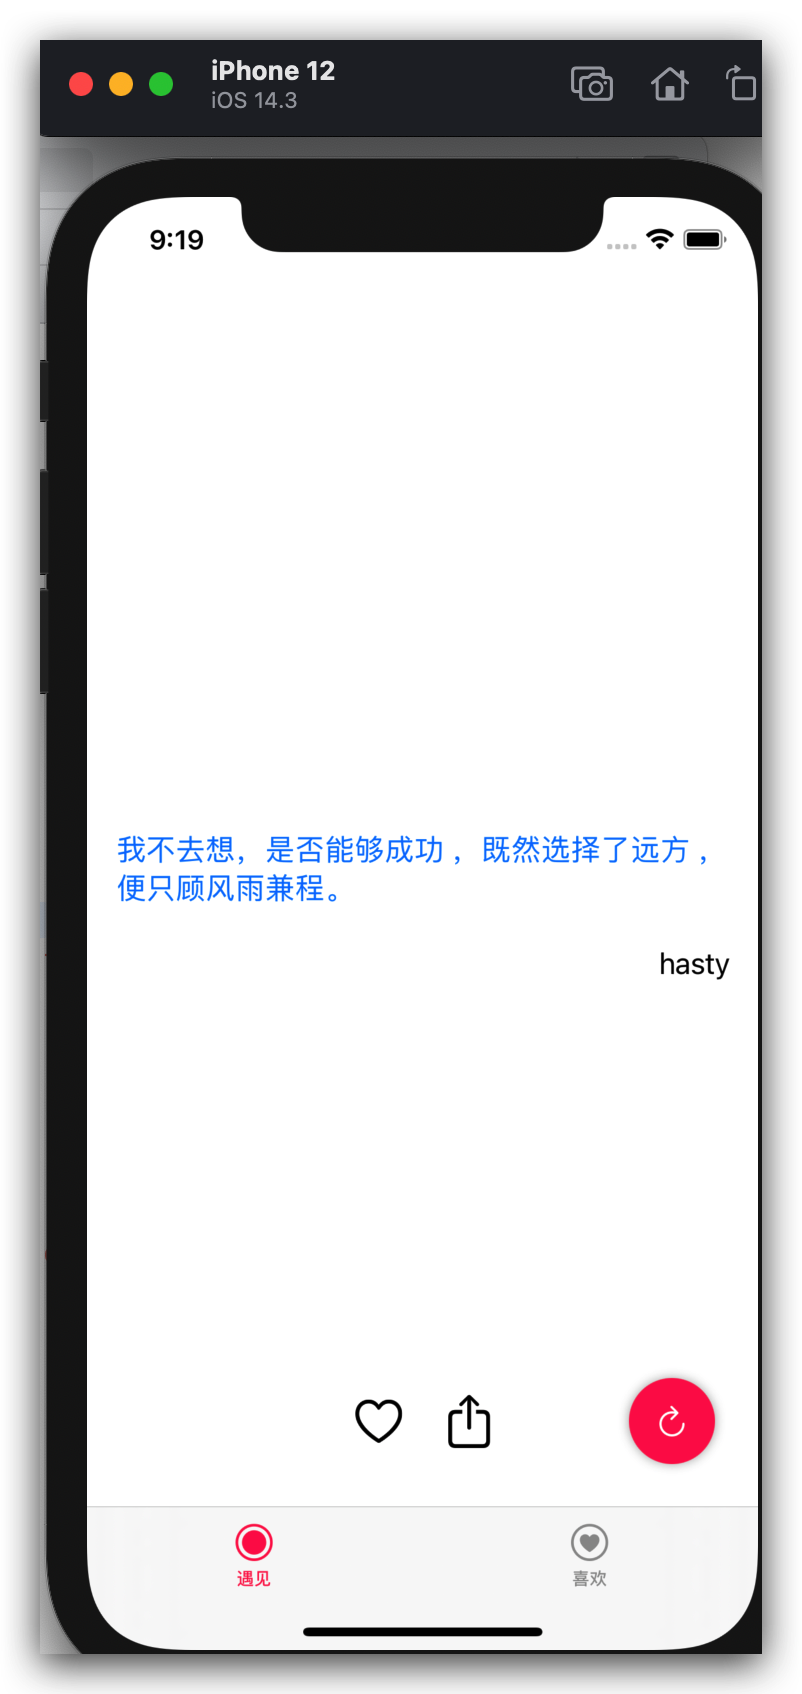
在 HomeView 中 ZStack 末尾添加。
ActionView().offset(x: 0, y: reader.size.height / 2 - 50)
可以看到如图。
这里使用了 .offset
而不是 .position
去定位,是因为使用 position 去定位会丢失 width: 100%
,可以理解为 CSS 中 block
使用 absolute
之后变成了 inline-block
, 而使用 .offset
只是relative
中的定位。
TabView
接下来,绘制底部 Tabbar。在 Swift UI 中使用默认的 Tabbar 极为简单。只需要使用 TabView
即可。
在 xxApp.swift
(为你的 project_nameApp.swift,比如我的 Project 为 Meet,则为 MeetApp.swift
) 中增加 TabView
struct MeetApp: App {
var body: some Scene {
WindowGroup {
TabView {
ContentView().tabItem { Label("遇见", systemImage: "circle") }
}
}
}
}
TabView 中每个 View 都会在底部 tab 中存在一个 Item,使用 .tabItem
定义这个 item 的文字和 image。有且只有一个 text 和 image。我们再新建一个 SwiftUI View 文件,命名为 LikeView.swift
。在 MeetApp.swift
中增加一个 View。
TabView(selection: $activeTabIndex) {
ContentView().tabItem {
Label("遇见", systemImage: "largecircle.fill.circle")
}
LikeView().tabItem {
Label("喜欢", systemImage: "heart.circle.fill")
}
}
.accentColor(.pink) // 修改默认主题色
然后我们给 tabItem 增加 tag,让 Swift UI 知道当前选定的 tab 是哪个。如果被选中,修改为 Solid 的 Icon。当然我们可以使用 @State
和 .onTapGesture
实现。
@main
struct MeetApp: App {
@State var activeTabIndex = 0
var body: some Scene {
return WindowGroup {
TabView(selection: $activeTabIndex) {
HomeView().tabItem {
Label("遇见", systemImage: activeTabIndex != 0 ? "circle" : "largecircle.fill.circle")
.onTapGesture {
activeTabIndex = 0
}
}
.tag(0)
LikeView().tabItem {
Label("喜欢", systemImage: activeTabIndex != 1 ? "heart.circle" : "heart.circle.fill")
.onTapGesture {
activeTabIndex = 1
}
}
.tag(1)
}
.accentColor(.pink)
}
}
}
注意:.tag
是不可或缺的。否则无效。
大功告成!
下一篇文章,将构建数据层。
(未待完续)