从零开始的 Swift UI (二)

3 年前(已编辑)
编程 /
1248
这篇文章上次修改于 1 年前,可能部分内容已经不适用,如有疑问可询问作者。

阅读此文章之前,你可能需要首先阅读以下的文章才能更好的理解上下文。

接上文:从零开始的 Swift UI (一)

在上一篇文章中,我们完成了 HomeView 的基本布局。接下来我们来编写一下数据层(Model ViewModel)。

大概包括两个方面:数据的获取(JSON URLSession) 和 UI ViewModel 的数据同步。

数据的获取

首先我们使用的 Api 是 Hikotoko。随机获取一条 Hikotoko 的 JSON 如下。

{
"id": 5716,
"uuid": "71396790-6d06-49dd-bc72-2568311cdd7b",
"hitokoto": "粗缯大布裹生涯,腹有诗书气自华。",
"type": "i",
"from": "和董传留别",
"from_who": "苏轼",
"creator": "a632079",
"creator_uid": 1044,
"reviewer": 4756,
"commit_from": "web",
"created_at": "1586333487",
"length": 16
}

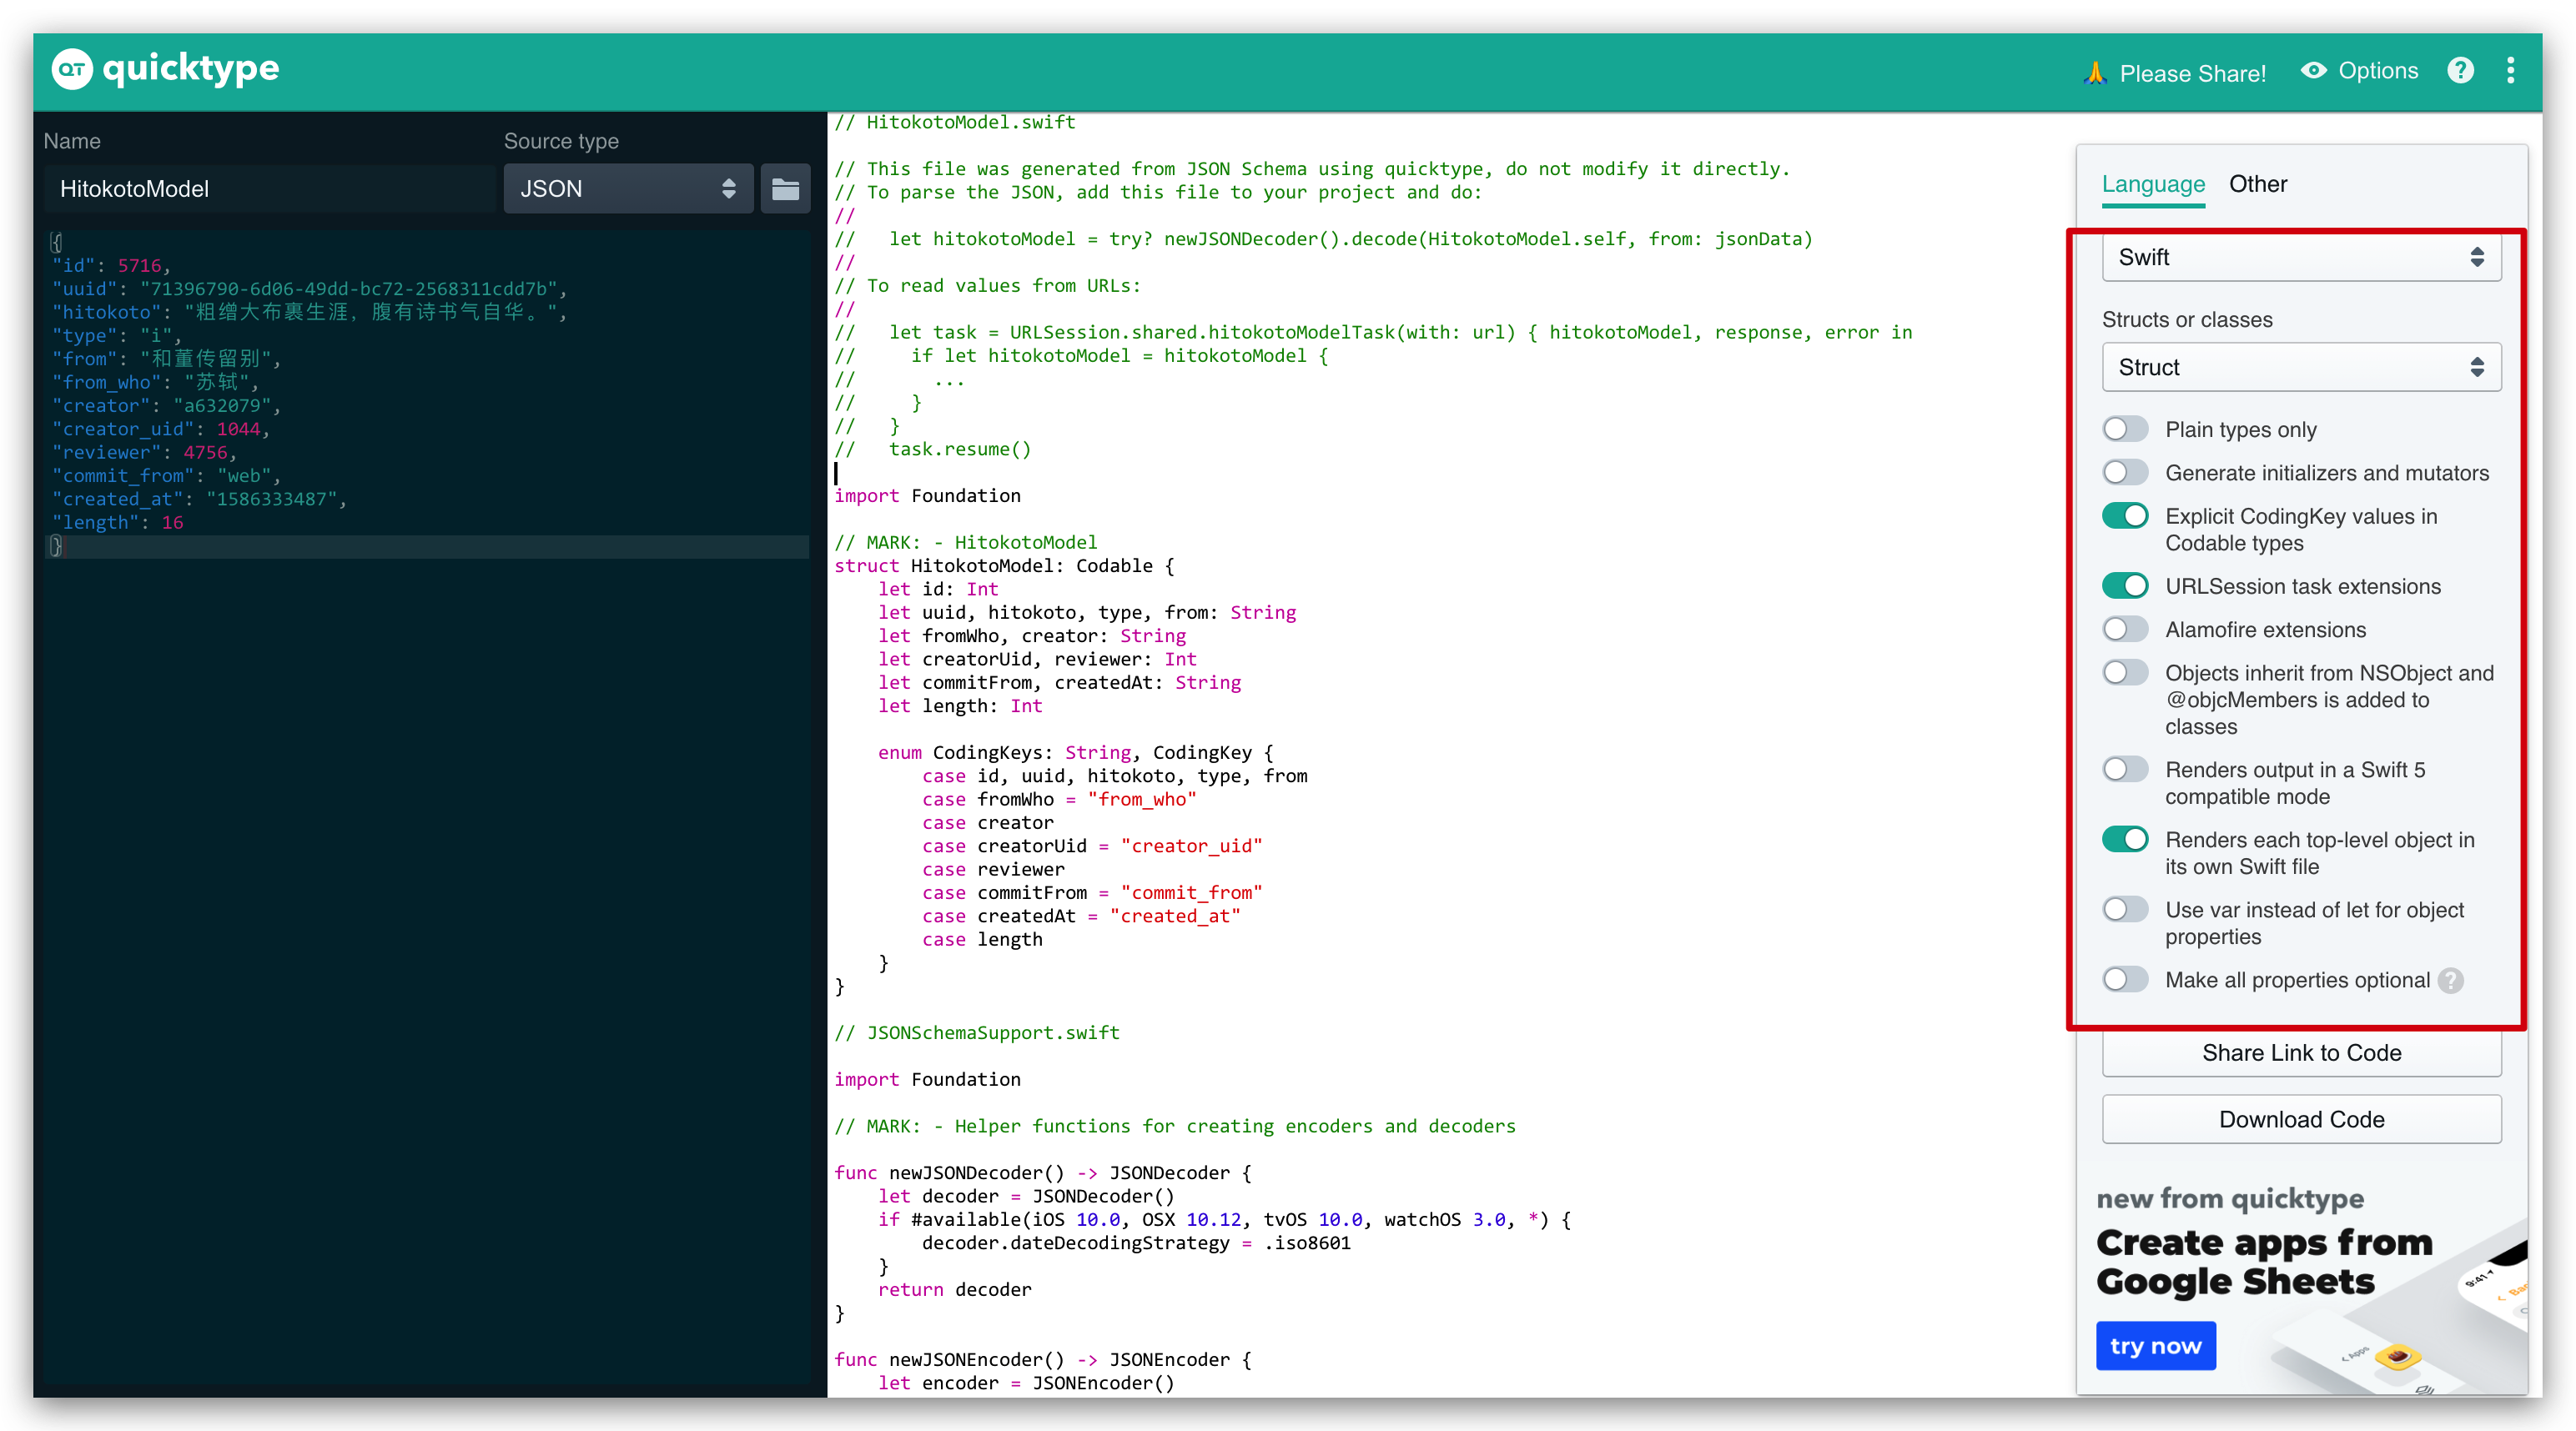
使用工具 JSON2Swift 将 JSON Model 转化为 Swift Struct。工具推荐使用: https://app.quicktype.io/

右侧选项根据需要修改。仅参考。


1609121675559

使用此工具的好处是,他把 URLSession 也自动构建好了。并给出了实例。

新建一个 Swift 文件,命名为 Model.swift 将生成的代码复制到新文件。

再新建一个 Swift 文件,命名为 ViewModel.swift,写入以下代码。

import Foundation

class HitokotoViewModel {
    static func fetch(completion: @escaping (HitokotoModel) -> Void) {
        let task = URLSession.shared.hitokotoModelTask(with: URL(string: "https://v1.hitokoto.cn/")!) { hitokotoModel, _, _ in
            if let hitokotoModel = hitokotoModel {
                DispatchQueue.main.async {
                    completion(hitokotoModel)
                }
            }
        }

        task.resume()
    }
}

在 HomeView 中调用此方法。修改 HomeView 的代码为

//
//  HomeView.swift
//  Meet
//
//  Created by Innei on 2020/12/28.
//

import SwiftUI

struct HomeView: View {
    @State var model: HitokotoModel? = nil

    func fetch() {
        HitokotoViewModel.fetch {
            self.model = $0
        }
    }

    var body: some View {
        GeometryReader { reader in
            ZStack {
                VStack {
                    Text(model?.hitokoto ?? "")
                        .foregroundColor(.blue)
                        .padding(.vertical)

                    HStack {
                        Spacer()

                        Text(model?.creator ?? "")
                    }
                }.padding()

                ActionView().offset(x: 0, y: reader.size.height / 2 - 50)

                Button(action: {
                    fetch()
                }, label: {
                    CircleButtonShape(systemImage: "arrow.clockwise")
                })
                    .position(x: reader.size.width - 50, y: reader.size.height - 50)
            }
            .onAppear {
                fetch()
            }
        }
    }
}

struct HomeView_Previews: PreviewProvider {
    static var previews: some View {
        HomeView()
    }
}

struct CircleButtonShape: View {
    var systemImage: String
    var color: Color = .pink
    var body: some View {
        ZStack {
            Circle()
                .fill(color)
                .frame(width: 50, height: 50, alignment: .center)
                .shadow(radius: 3)
            Image(systemName: systemImage).foregroundColor(.white)
        }
    }
}

struct ActionView: View {
    @State var liked = false

    @ViewBuilder
    var body: some View {
        HStack(spacing: 20) {
            Button(action: {
            }, label: {
                Image(systemName: liked ? "suit.heart.fill" : "suit.heart")
                    .foregroundColor(liked ? .red : .primary)
                    .font(.custom("icon", size: 28))
            })
            Button(action: {
            }, label: {
                Image(systemName: "square.and.arrow.up")
                    .font(.custom("icon", size: 28))
                    .foregroundColor(.primary)
            })
        }
    }
}

效果已经有了,但是没有加载完成时(受限于网络,弱网),会出现一片空白。如果未加载完成时,显示加载中.. 可能会比较好。

在未加载完成时,modelnil ,那么只需要判断是不是 nil 就行了。我本来想用 Group 包裹 if 判断语句实现。理论上是可行的,但是由于 Groupif 不支持使用 Stack 包裹。出现如下报错。

换一种方法。转而使用 @ViewBuilder,首先提取组件。在这个 struct 里新增一个 some View

 @ViewBuilder
 var Preview: some View {
        if let model = model {
            VStack {
                Text(model.hitokoto ?? "")
                    .foregroundColor(.blue)
                    .padding(.vertical)

                HStack {
                    Spacer()

                    Text(model.creator ?? "")
                }
            }
        } else {
            Text("加载中")
        }
    }

然后在 body 的合适地方替换成。

ZStack {
    Preview
  
  // ....
}

响应式数据流

接下来我们实现保存 Hikotoko 到 喜欢。我们需要用到本地存储和响应式数据流。

本地存储可以使用 UserDefaults,响应式数据流使用 ObservableObject

新建一个 Swift 文件,命名为 Like.swift

import Foundation

class Like: ObservableObject {
    @Published var likes: [LikeModel] = []

    public var codable: [LikeModel] {
        likes
    }

    init() {
       
    }

    func has(item: LikeModel) -> Int? {
        return likes.firstIndex(where: { $0.id == item.id })
    }

    func add(item: LikeModel) -> Bool {
        if has(item: item) != nil {
            return false
        } else {
            likes.append(item)
            return true
        }
    }

    func remove(item: LikeModel) -> LikeModel? {
        let id = item.id
        if let index = likes.firstIndex(where: { $0.id == id }) {
            let element = likes[index]
            likes.remove(at: index)
            return element
        } else {
            return nil
        }
    }
    
    func remove(uuid: UUID) -> LikeModel? {
        let id = uuid
        if let index = likes.firstIndex(where: { $0.id == id }) {
            let element = likes[index]
            likes.remove(at: index)
            return element
        } else {
            return nil
        }
    }

    func removeAll() {
        likes.removeAll()
    }
}

使用 ObservableObject protocol 使得一个对象成为可被观察的,当被装饰 @Published 的属性改变时,会触发 UIView 更新。

在 MeetApp.swift 中挂载 LikeenvironmentObject。增加如下代码。

@main
struct MeetApp: App {
    @State var activeTabIndex = 0

+    let like = Like()

    var body: some Scene {
        WindowGroup {
            TabView(selection: $activeTabIndex) {
                ContentView().tabItem {
                    Label("遇见", systemImage: activeTabIndex != 0 ? "circle" : "largecircle.fill.circle")
                        .onTapGesture {
                            activeTabIndex = 0
                        }
                }
                .tag(0)

                LikeView().tabItem {
                    Label("喜欢", systemImage: activeTabIndex != 1 ? "heart.circle" : "heart.circle.fill")
                        .onTapGesture {
                            activeTabIndex = 1
                        }
                }
                .tag(1)
            }
            .accentColor(.pink)
+           .environmentObject(like)
        }
    }
}

在 HomeView 中,ActionView 中的 Like Button,修改 action 为

if like.has(uuid: UUID(uuidString: model.uuid)) {
                        if let uuid = UUID(uuidString: model.uuid) {
                            like.remove(uuid: uuid)
                        }

                    } else {
                        like.add(item: LikeModel(id: UUID(uuidString: model.uuid) ?? UUID(), text: model.hitokoto, createdAt: Date(), from: model.from, author: model.creator))
                    }

在顶部增加

 @EnvironmentObject var like: Like

完整如下

struct ActionView: View {
    @EnvironmentObject var like: Like

    @ViewBuilder
    var body: some View {
        if let model = model {
            HStack(spacing: 20) {
                Button(action: {
                    if like.has(uuid: UUID(uuidString: model.uuid)) {
                        if let uuid = UUID(uuidString: model.uuid) {
                            like.remove(uuid: uuid)
                        }

                    } else {
                        like.add(item: LikeModel(id: UUID(uuidString: model.uuid) ?? UUID(), text: model.hitokoto, createdAt: Date(), from: model.from, author: model.creator))
                    }

                }, label: {
                    Image(systemName: "suit.heart")
                        .foregroundColor(.primary)
                        .font(.custom("icon", size: 28))
                })
                Button(action: {

                }, label: {
                    Image(systemName: "square.and.arrow.up")
                        .font(.custom("icon", size: 28))
                        .foregroundColor(.primary)
                })
            }
        }
    }
}

装饰了 @EnvironmentObject 的属性会自动获取上层 View 挂载的 environmentObject,不需要层层传递。类似 React 中的 Context

数据的存储

Like.swift 中新建一个 Class,代码如下。

class Store {
    private(set) static var userDefaults = UserDefaults()

    public static let storeKey = "like-list"

    public static func refreshStore(_ like: Like) {

        if let data = try? PropertyListEncoder().encode(like.codable) {
            userDefaults.set(data, forKey: storeKey)
        }
    }
}

我们使用 refreshStore 方法把 Like 中 likes 数据保存到本地数据中。因为 likes 不是普通的 Array,所以不能直接使用 Userdefaults.set() 的方法写入,否则会 runtime crash。首先使用 PropertyListEncoder 将数据序列化。在此之前,请注意 LikeModel 实现了 Codable Protocol。

同样在 Like init 的时候读取本地保存的数据。当然也需要先反序列化数据。

init() {
        if let data = Store.userDefaults.data(forKey: Store.storeKey) {
            let stored = try! PropertyListDecoder().decode([LikeModel].self, from: data)
            likes = stored.map { $0 }
        }
    }

在修改 likes 后,同时写入到本地数据。可以使用 didSet 计算属性很容易完成。修改 likes 属性为。

@Published var likes: [LikeModel] = [] {
    didSet {
        Store.refreshStore(self)
    }
}

之后完整的 Like.swift 如下:

//
//  Like.swift
//  Meet
//
//  Created by Innei on 2020/12/27.
//

import Foundation

class Like: ObservableObject {
    @Published var likes: [LikeModel] = [] {
        didSet {
            Store.refreshStore(self)
        }
    }

    public var codable: [LikeModel] {
        likes
    }

    init() {
        if let data = Store.userDefaults.data(forKey: Store.storeKey) {
            let stored = try! PropertyListDecoder().decode([LikeModel].self, from: data)
            likes = stored.map { $0 }
        }
    }

    func has(item: LikeModel) -> Int? {
        return likes.firstIndex(where: { $0.id == item.id })
    }

    func has(uuid: UUID?) -> Bool {
        guard let uuid = uuid else { return false }
        return likes.first { $0.id == uuid } != nil
    }

    func add(item: LikeModel) -> Bool {
        if has(item: item) != nil {
            return false
        } else {
            likes.append(item)
//            Store.refreshStore()
            return true
        }
    }

    func remove(item: LikeModel) -> LikeModel? {
        let id = item.id
        if let index = likes.firstIndex(where: { $0.id == id }) {
            let element = likes[index]
            likes.remove(at: index)
            return element
        } else {
            return nil
        }
    }

    func remove(uuid: UUID) -> LikeModel? {
        let id = uuid
        if let index = likes.firstIndex(where: { $0.id == id }) {
            let element = likes[index]
            likes.remove(at: index)
            return element
        } else {
            return nil
        }
    }

    func removeAll() {
        likes.removeAll()
    }
}

class Store {
    private(set) static var userDefaults = UserDefaults()

    public static let storeKey = "like-list"

    public static func refreshStore(_ like: Like) {

        if let data = try? PropertyListEncoder().encode(like.codable) {
            userDefaults.set(data, forKey: storeKey)
        }
    }
}

下一篇文章,将构建 LikeView。

(未待完续)

评论区加载中...